If walls could talk what would they say?
All the gory details of neighborhood gossip…
…the tales of late nights with little babies… first kisses.
If we knew what our walls knew, we might be a little enlightened.
My house is over 60 years old. I’m sure the walls have a few stories to tell.
Probably the next best place to find stories around the home is in the mailbox…love letters, bills, birthday cards, college acceptance letters, baby birth certificates….the mailbox is a pretty import feature of the home.
A mailbox is mail’s first impression of your home….and around here, we are all about positive first impressions.
This post is in collaboration with Home Depot. All opinions of new mailboxes that make a good first impression are my own. See my disclosure for me info.
This mailbox has definitely seen better days. At one point, someone actually backed into it. A stake was driven into the ground to help support it.
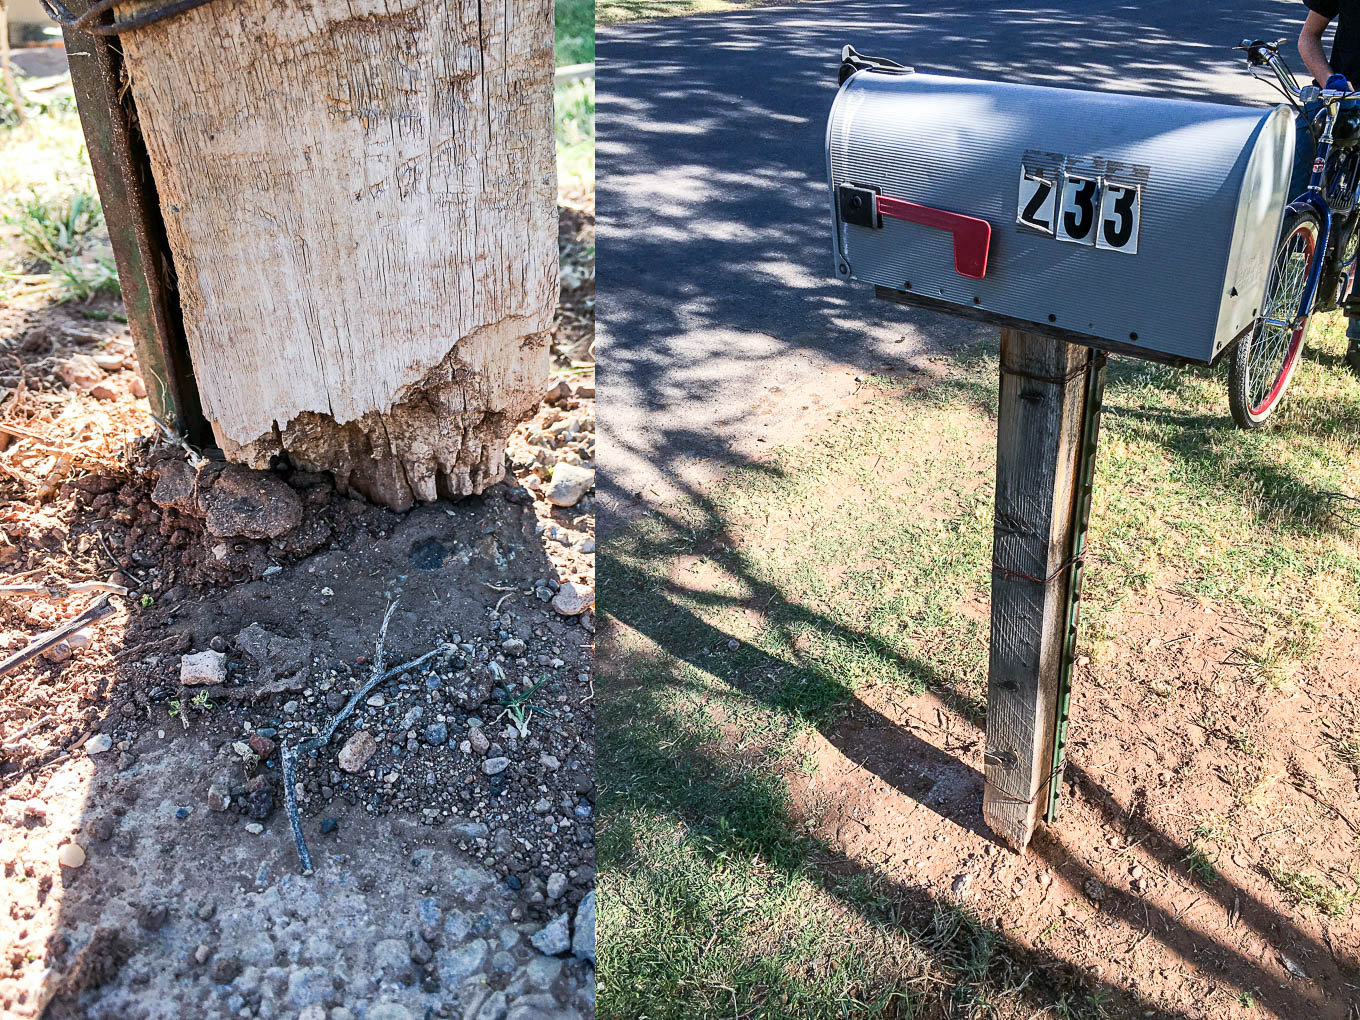
Looking to install a new mailbox? You might be surprised how easy it is!
Here are the steps in install a new mailbox. Be sure to read all the manufacturer’s directions before you install. Your situation might be slightly different.
1- Remove the old mail box:
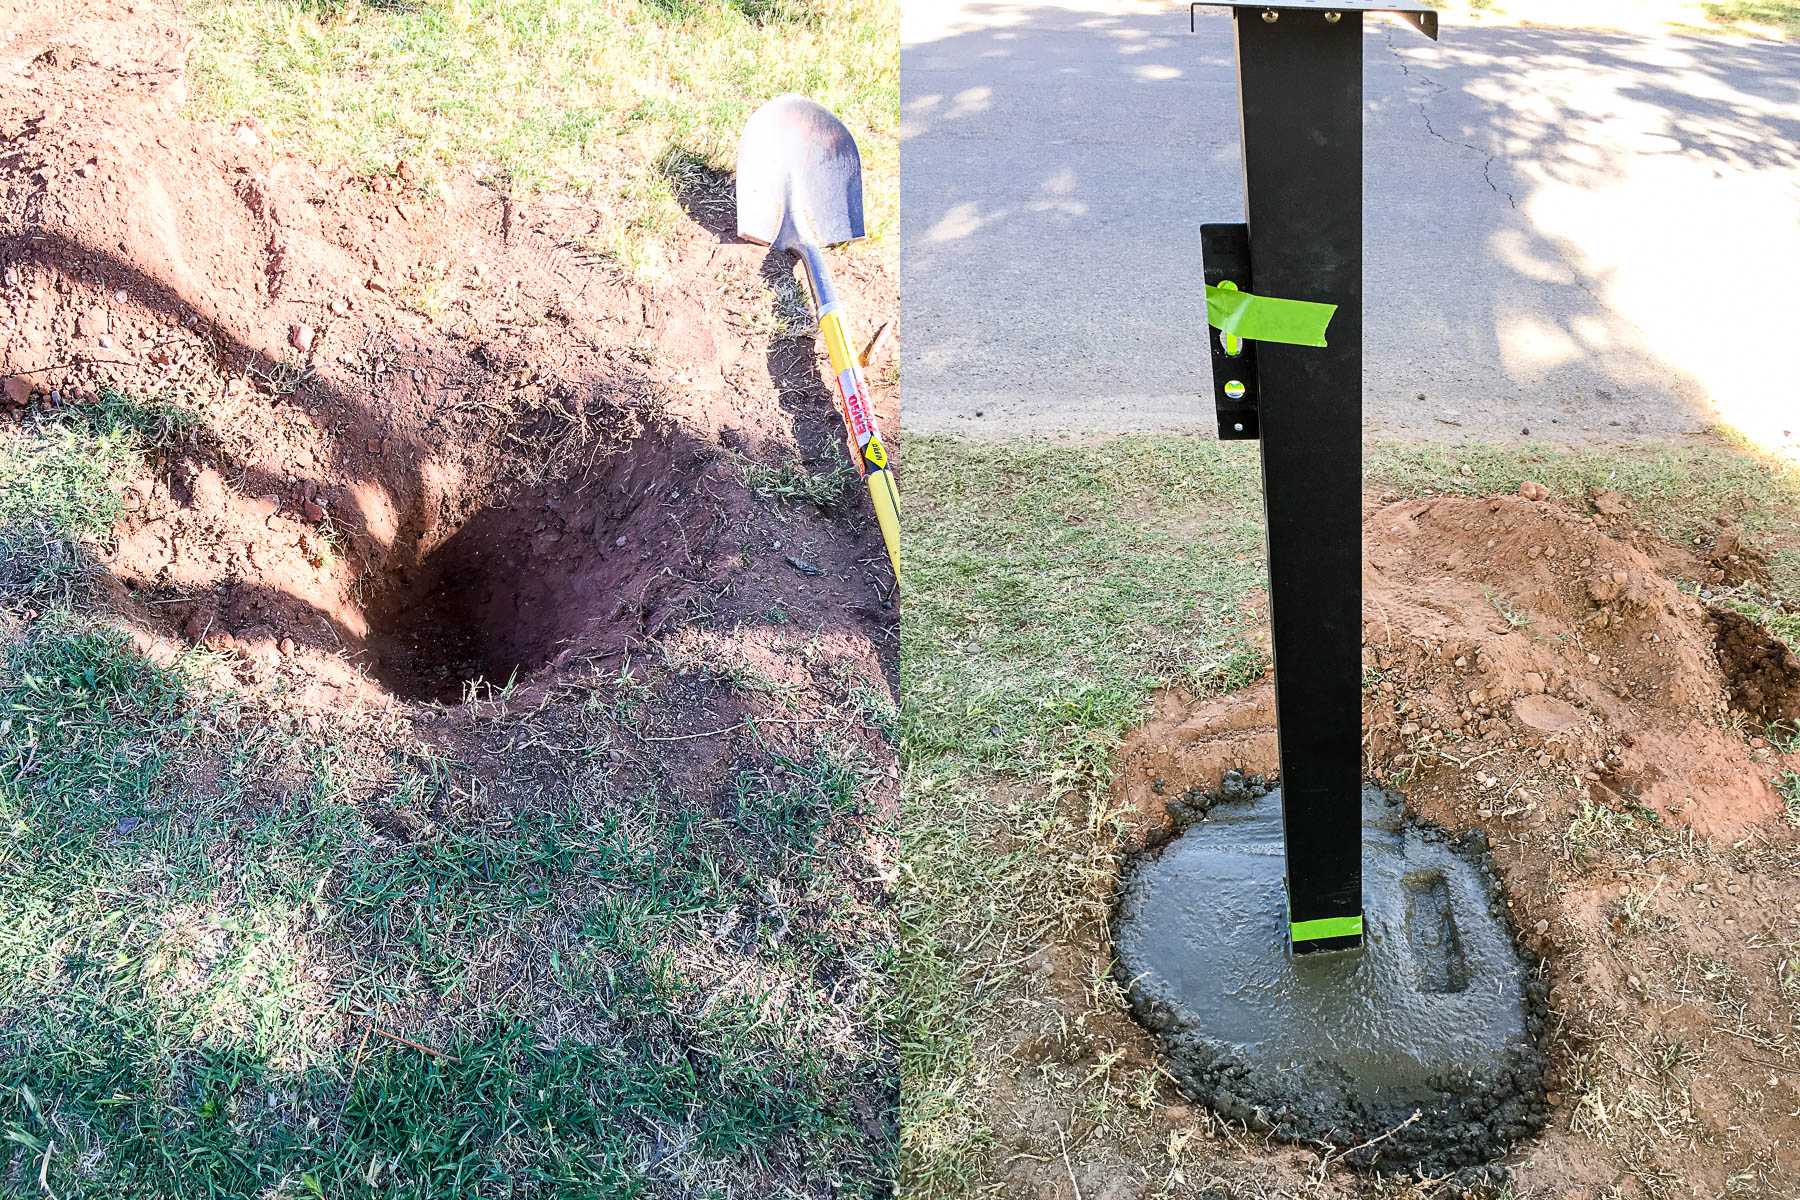
The original mailbox was in concrete. Luckily, there was only a few inches of concrete. It was fairly easy to remove using a shovel.
2- Dig a hole for the new mailbox:
Depending on if you are installing the new mailbox in the same location or moving it…you might need to call 411 to determine where all the utilities lay under the ground. It’s free….it always pays to be safe.
The USPS standard height for a mailbox is 40-45 inches from the top of the road to the bottom of the mailbox. The mailbox should also be set back 6-8 from from the curb or edge of the road. You can find all the details on the USPS website for all the specifics and requirement of the mailbox placement.
3- Place post in hole.
Place the post in the hole. Use a level to ensure the mailbox is sitting properly. We ended up using some painters tape to tape our level to the mailbox post. This way we would quickly check for levelness. Check the height of the post to make sure it is sitting at the right height. Add more dirt or take more out depending on if the post needs to go higher or lower.
4- Add Post Hole Cement
There is a special type of post-hole cement that works really great for this job. Pour the dry cement into the hole until is gets 3 inches from the top of the ground. Follow the cement instructions and add water to the cement. Make sure the post is still level prior to adding the water.
The cement you want for this job is the one in the red bag...here is the link.
Wait 20-30 minutes for the cement to get hard, then it’s time to add the mailbox.
5- Add the mail box:
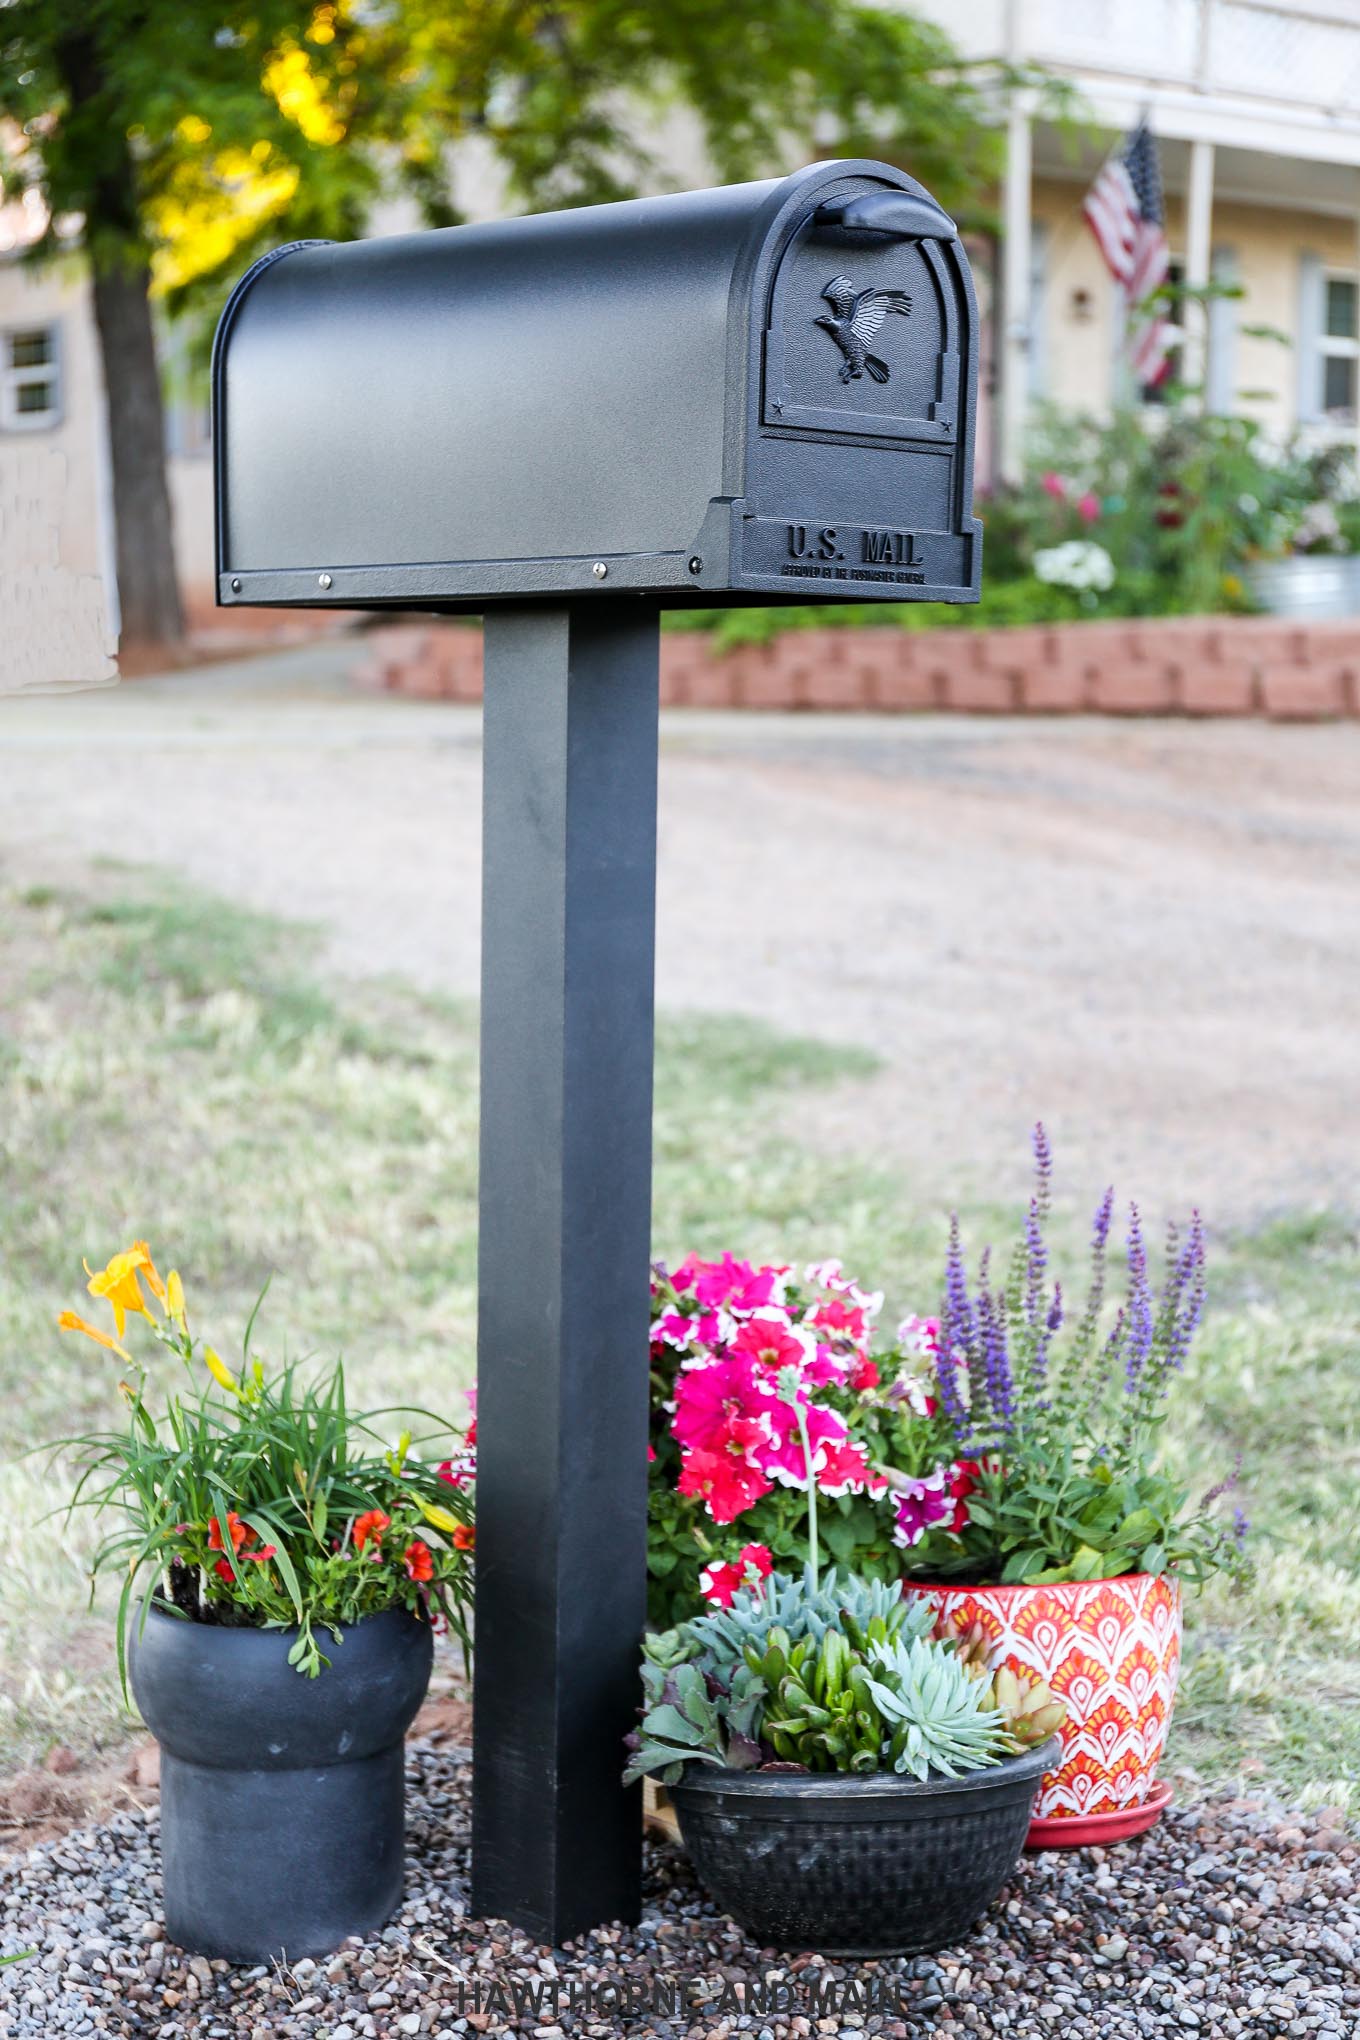
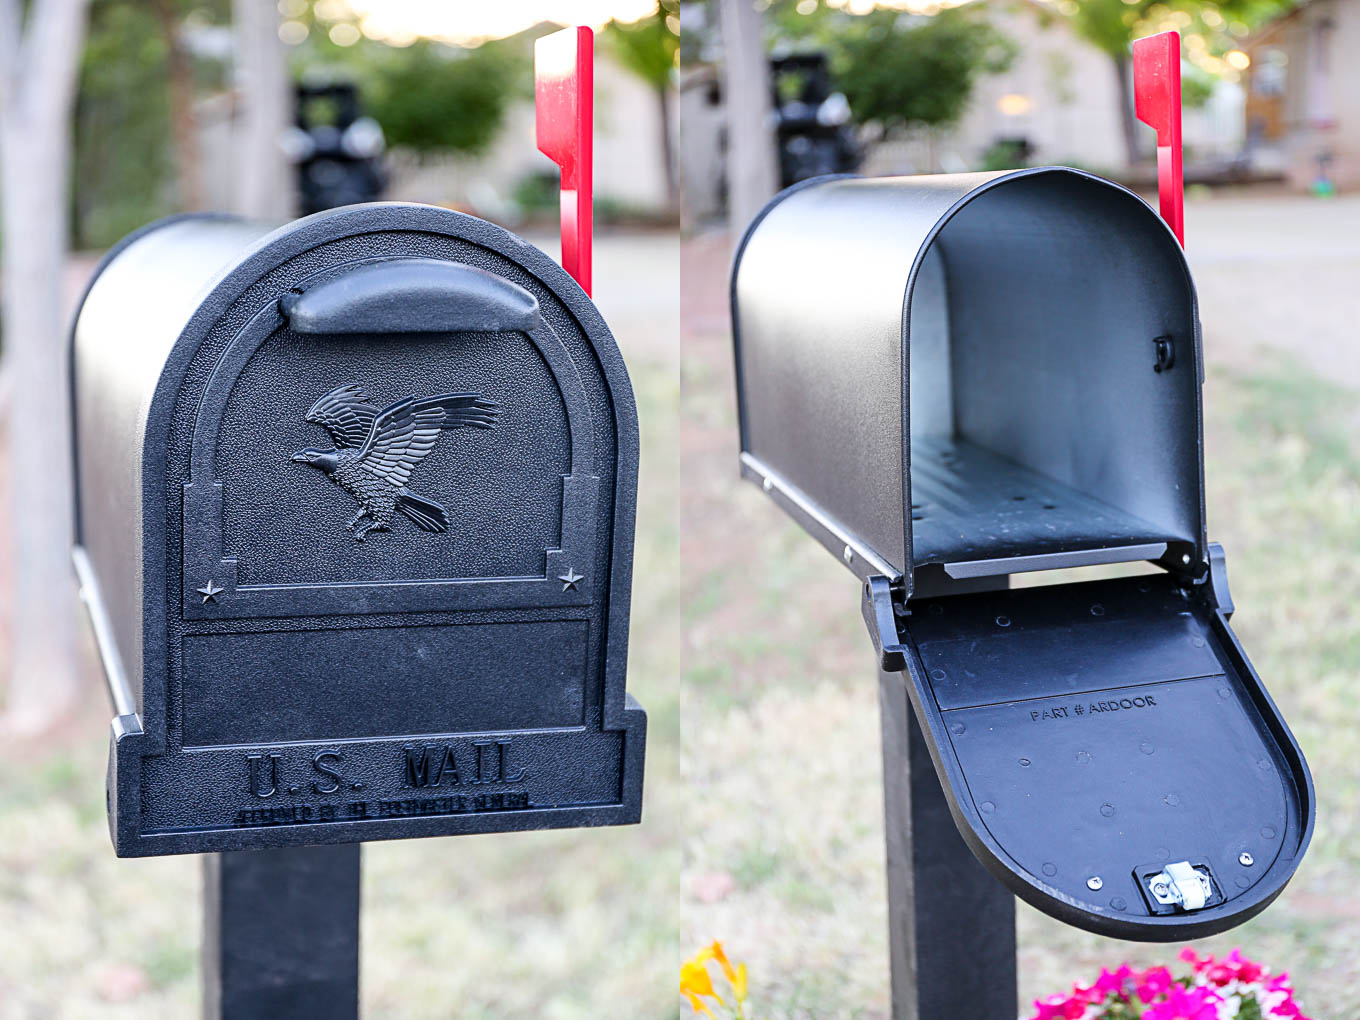
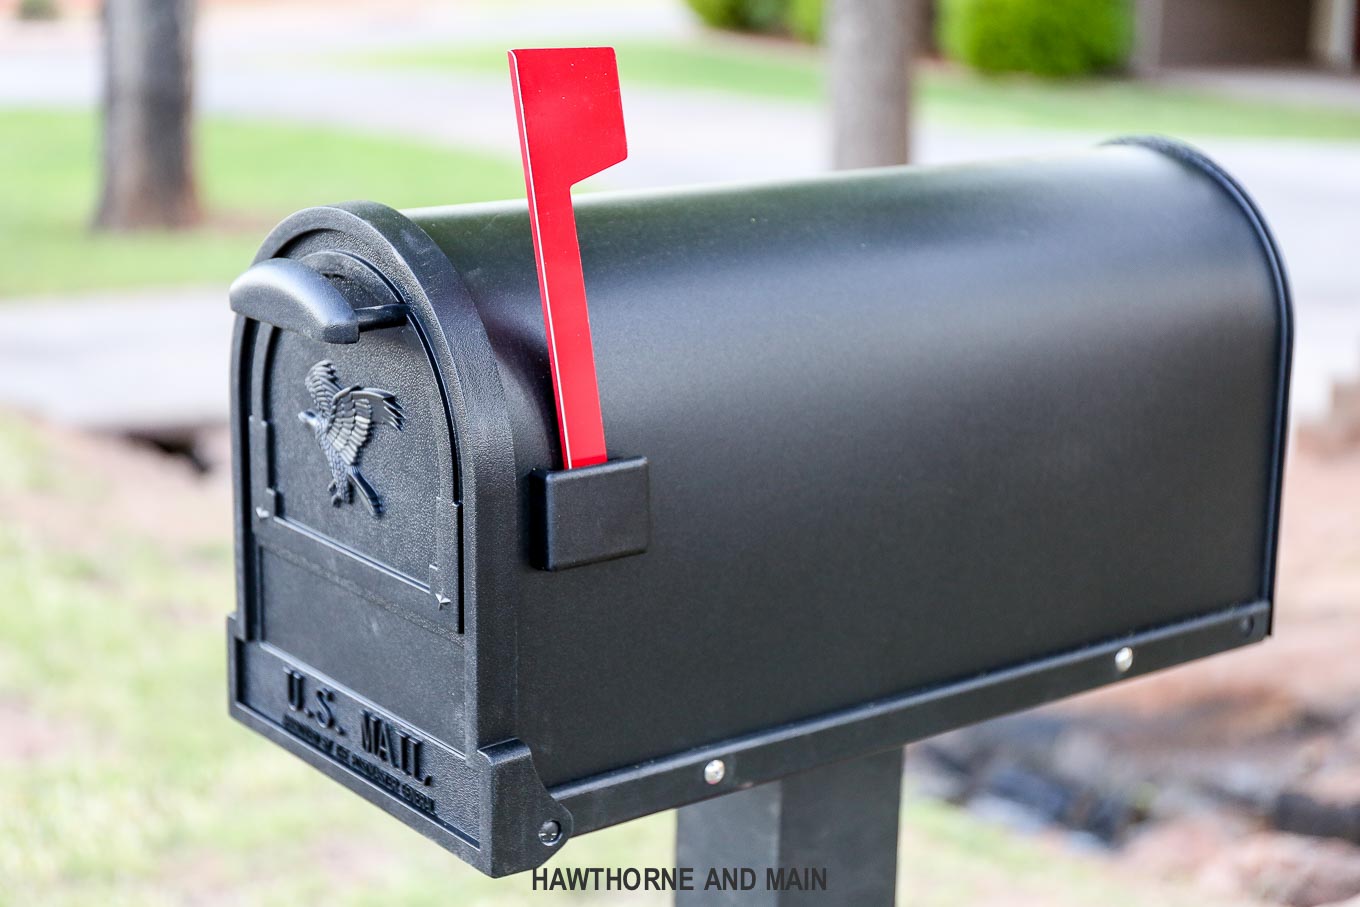
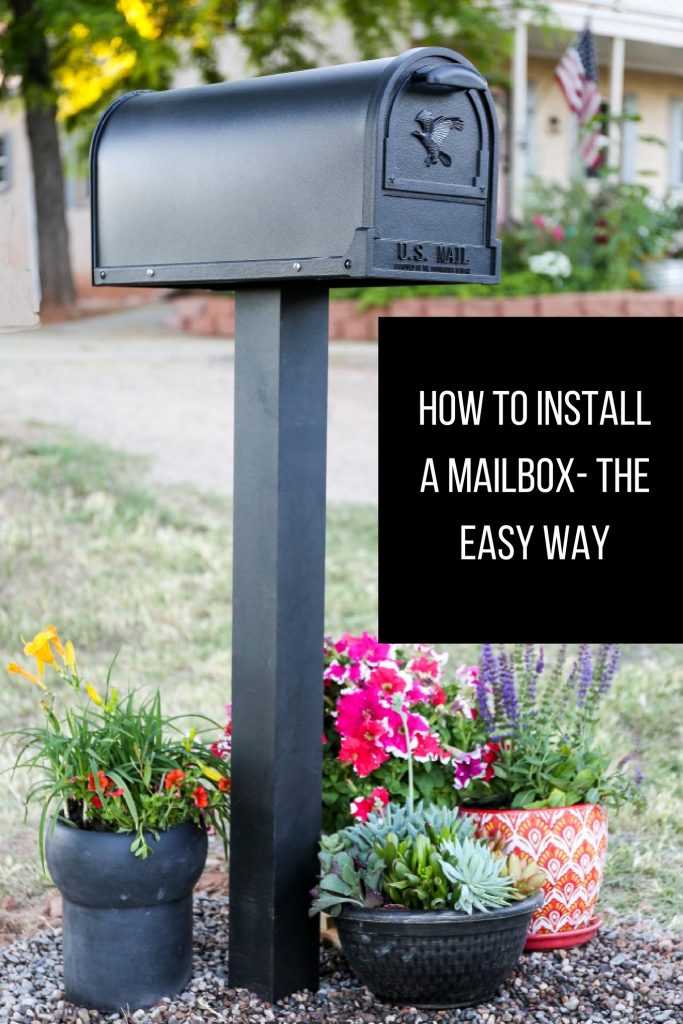
We went with the Arlington Premium Steel mailbox. We opted for this mailbox because of the large box size, in order to accommodate all the large love letters we receive…. 🙂 I also thought that the heavy duty galvanized steel construction of the mailbox would have a longer life. The mailbox came with all the instructions and hardware to install. It was quite simple. Don’t forget to add your house numbers…this mailbox makes it easy to customize your house numbers!
Doesn’t it look so pretty!
There are a bunch of other mailbox designs and colors to pick from. Go check out all the other mailbox options!
If walls could talk…I wonder what they would say…
…they would tell all the great stories.
And speaking of stories, this mailbox will definitely be the talk of the neighborhood… it’s that pretty!
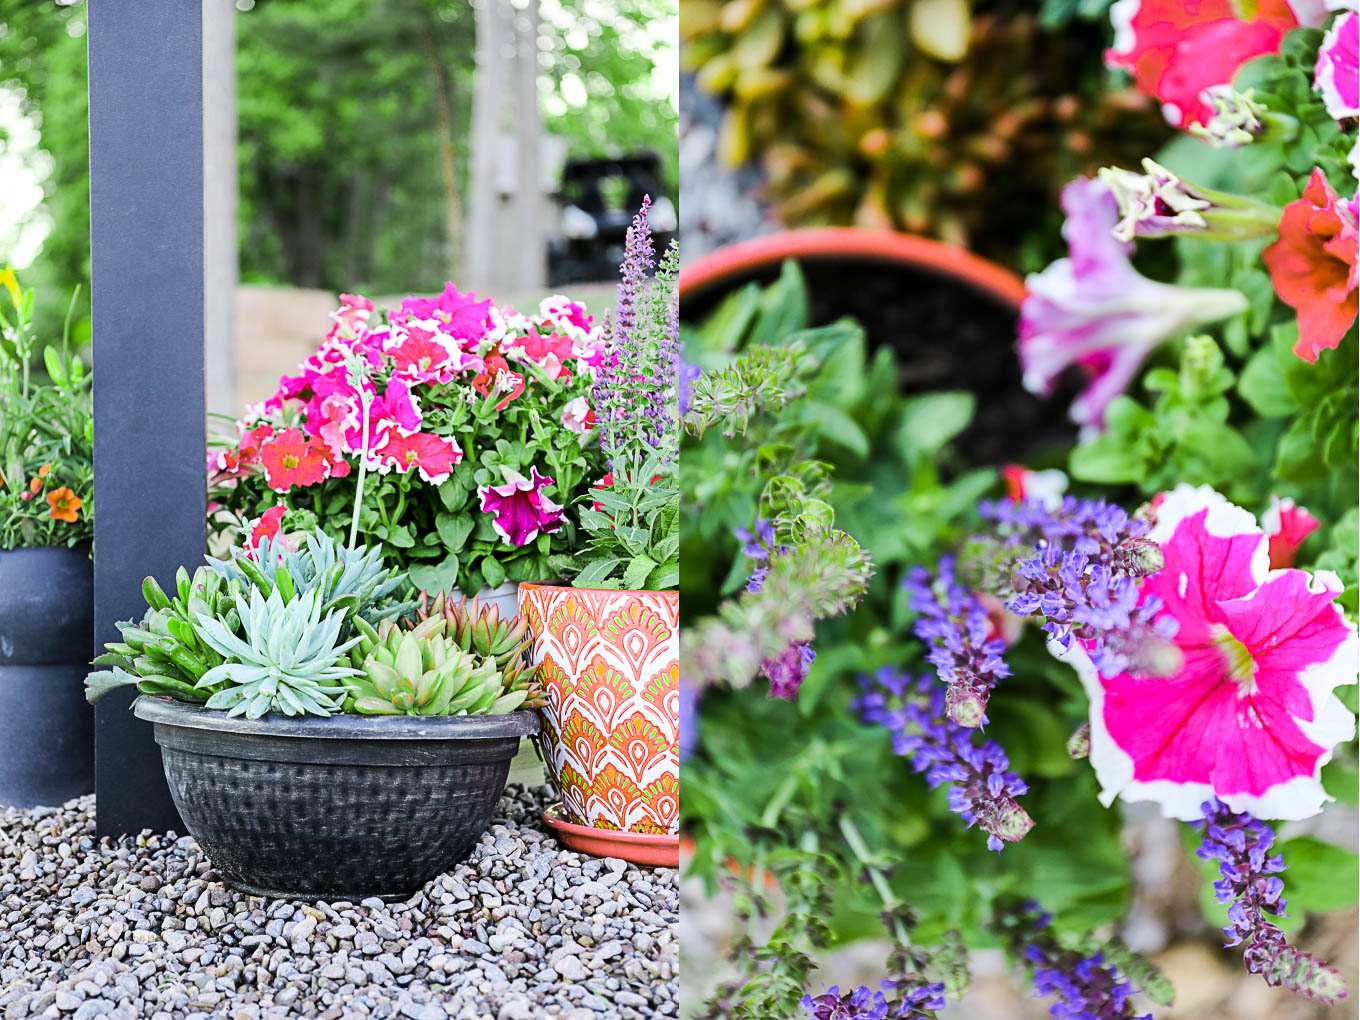
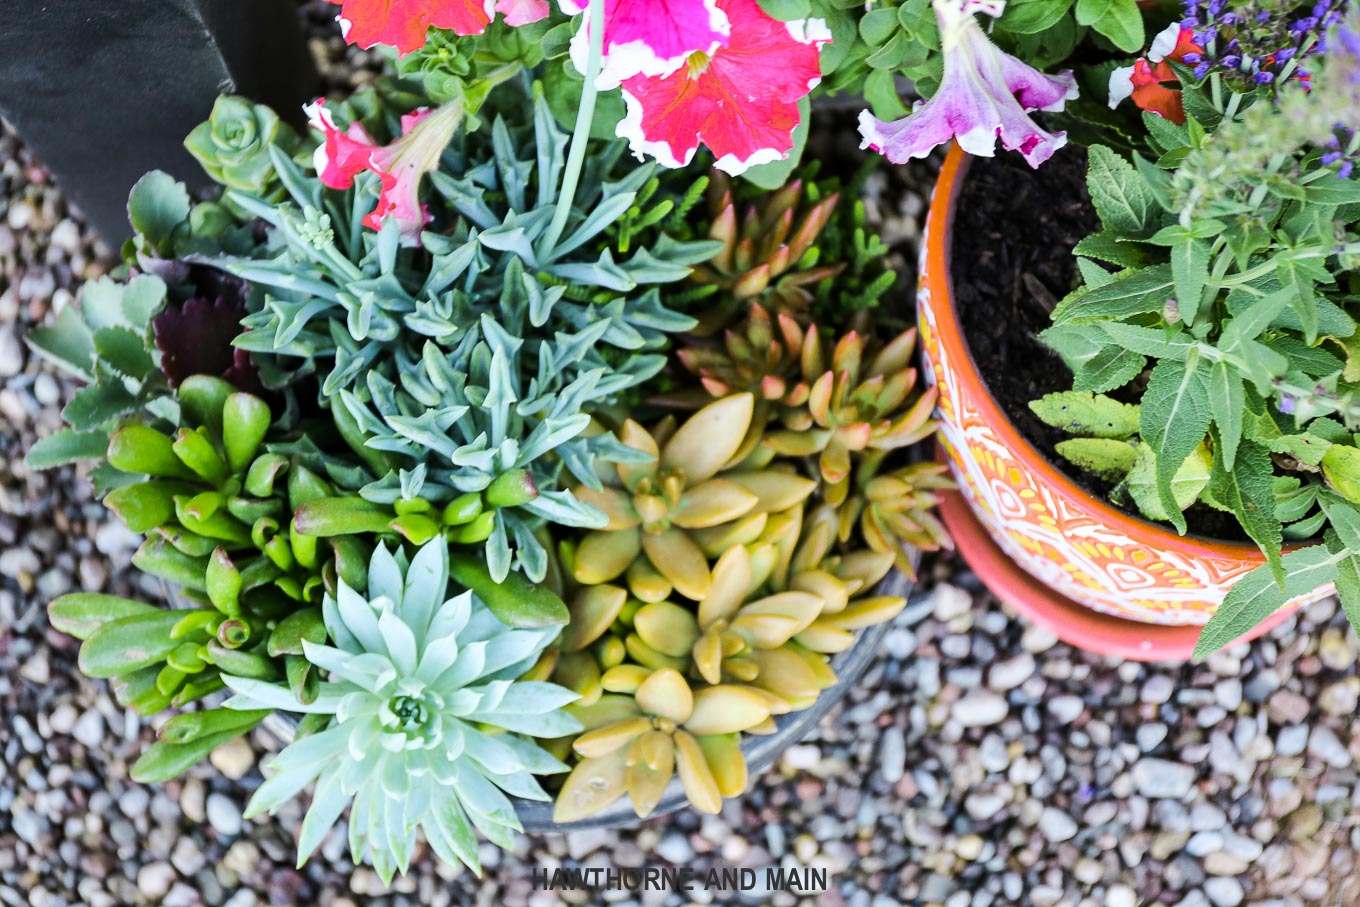





You did a great job- looks very sturdy. Love your plants & pots -great kerb appeal.
I don’t know why we don’t have mail boxes here in England. IT would be so much easier for the postmen.
How fun! Makes me wish we had a mail box instead of a PO Box!
I have noticed you don’t monetize your site, don’t waste your traffic,
you can earn extra cash every month because you’ve got high quality content.
If you want to know how to make extra $$$, search for: Mertiso’s tips best adsense alternative
USPS offering amazing postal services in USA. Now its offering all the services under Liteblue
I contacted USPS for installing a new mailbox and they were quite helpful.
I have send a seeds of my garden in Liteblue usps postal courier hope you received it.
I have noticed you don’t monetize hawthorneandmain.com, don’t waste your traffic, you can earn extra bucks every month with new monetization method.
This is the best adsense alternative for any type of
website (they approve all websites), for more details simply search in gooogle:
murgrabia’s tools
Very good job you did there. I wish I had such a decorative mailbox system.
Best regards from Germany
After doing some research for an essay I had to write on lettering, I found the finest writing service via the reviews at BestWritersOnline . If you are writing an essay about lettering, you are likely attempting to express your opinions on the subject. However, the best essays often have a logical structure with sections like the introduction, body, and conclusion. You may also include stories in your essay to clarify your points. These are known as anecdotes and can be used as illustrations to make your point clearer. They will also help your readers relate to the subject, and make your essay a more immersive experience.
Great article. I will definitely use some of the ideas you have posted
Great article, reading the article made me beautify the yard by installing a mailbox.
All I can do every day is watch these topics Head Soccer
this is an informative post and it is very beneficial and knowledgeable.
The article is very interesting and attracts my opinion. With lots of good and additional information. I am waiting for new articles from you. This run 3 game is one that you should play if you find yourself getting bored at school or at home.
I love the poetic perspective on the stories our homes hold. The idea that our walls, like silent witnesses, have tales to share – from late nights with babies to first kisses.
Reqzone is your ultimate source for accessing a wide range of movies, TV series, and documentaries. Explore a diverse collection of content spanning various genres, from action-packed thrillers to heartwarming dramas. With Reqzone, enjoy the convenience of easy access to your favorite entertainment, all in one place. Dive into a world of cinematic wonders and embark on unforgettable viewing experiences with Reqzone.
Personally, I still like old mailboxes because they are familiar to me, replacing a new mailbox is not necessary, instead we just need to remodel it.
Experience the luxurious accommodations and natural beauty of the Sariska Tiger Reserve Resorts. Nestled within the lush surroundings of the tiger reserve, these resorts offer guests a unique opportunity to immerse themselves in the stunning landscapes and rich biodiversity of the area.
Each resort is designed to provide guests with a comfortable and relaxing stay, with well-appointed rooms, modern amenities, and attentive service. Whether you’re looking to unwind in a peaceful setting or explore the wilderness of the tiger reserve, the Sariska Tiger Reserve Resorts has something for everyone.
Love your writing style. Very engaging and easy to follow. Solar