
Sometime you purchase a piece of furniture and you love it.
You see it from across the room and your eyes meet. It’s almost like you have always known each other. It’s an easy relationship, no work is required. The piece is already in its perfect condition and you see no need to alter it.
Then there are those times that you see a piece of furniture from across the room and your eyes get large. You take a quick glance to your right and to your left.
You start to get a big fat smile on your face, but not too big. You don’t want anyone else to see how excited you are to find it.
You have this feeling deep down in the gut of your stomach, you know how to make that simple, imperfect piece of furniture, awesome.
It’s almost like the friend you always wanted but just haven’t found yet.
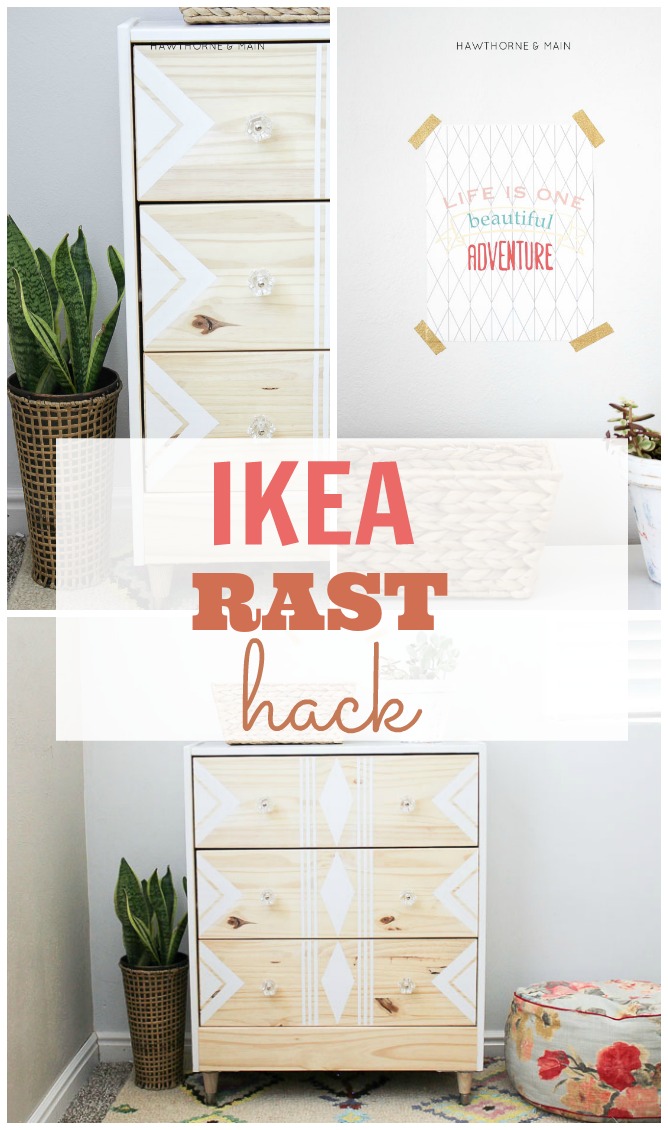
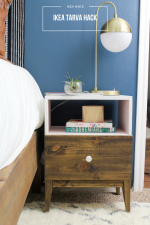
Meet my new friend, my latest RAST IKEA hack.
I love IKEA.
An awesome IKEA hack is pretty cool too.
The good news is, they probably aren’t going to run out of these dressers anytime soon.
Let me show you how I made over this simple RAST IKEA dresser.
This post contains some affiliate links for your connivence. See my full disclosure policy.
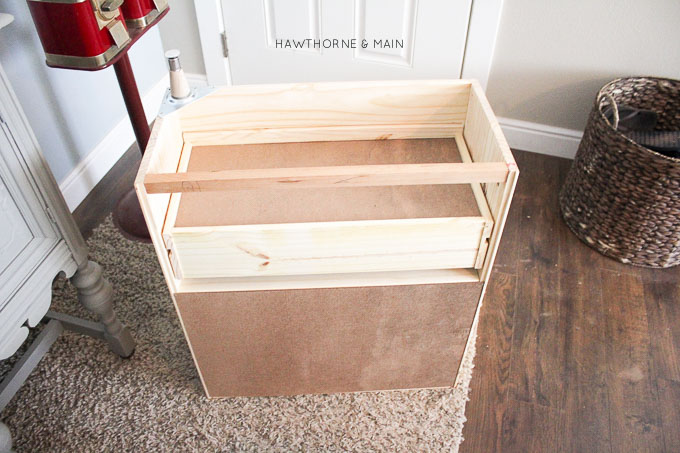
I assembled the dresser according to the instructions, except for one piece. The very bottom front piece below the third drawer is designed to be set back about 1 ½ inches. I made this piece flush with the front of the frame. I had to drill new holds and use wood screws and glue to secure it in place.
The other modification that I made was to flip the entire piece over and add a board along the back of the dresser. Making it flush with the back and bottom of the dresser. I used wood glue and screws to secure it in place.
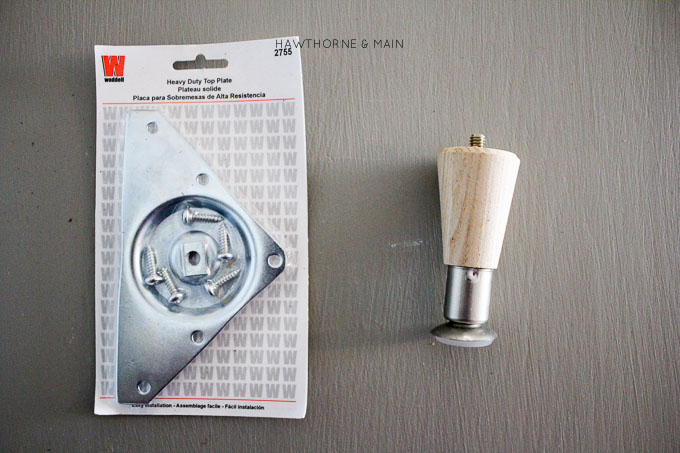
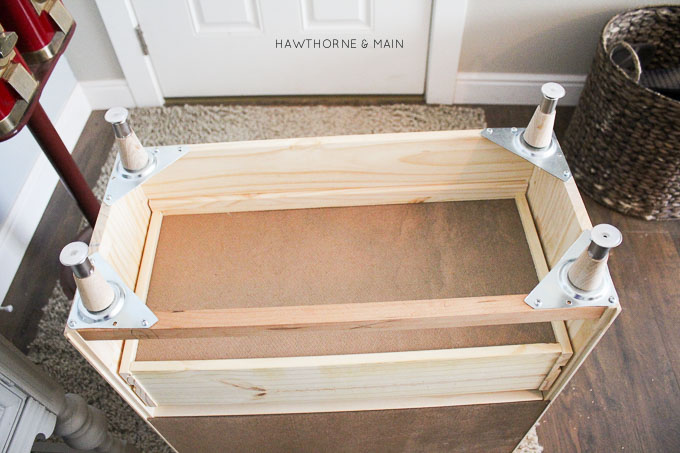
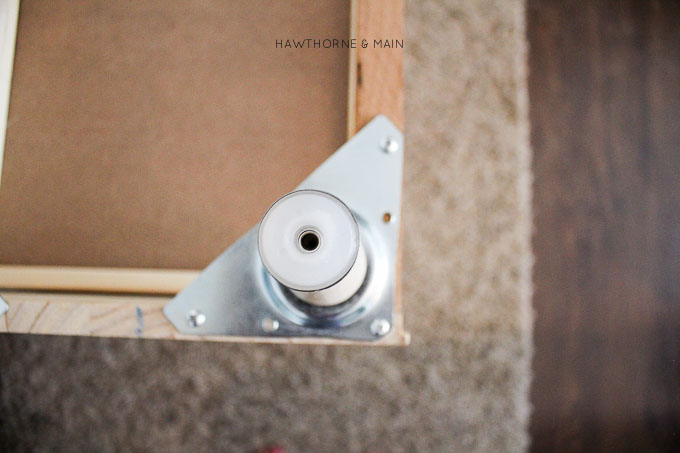
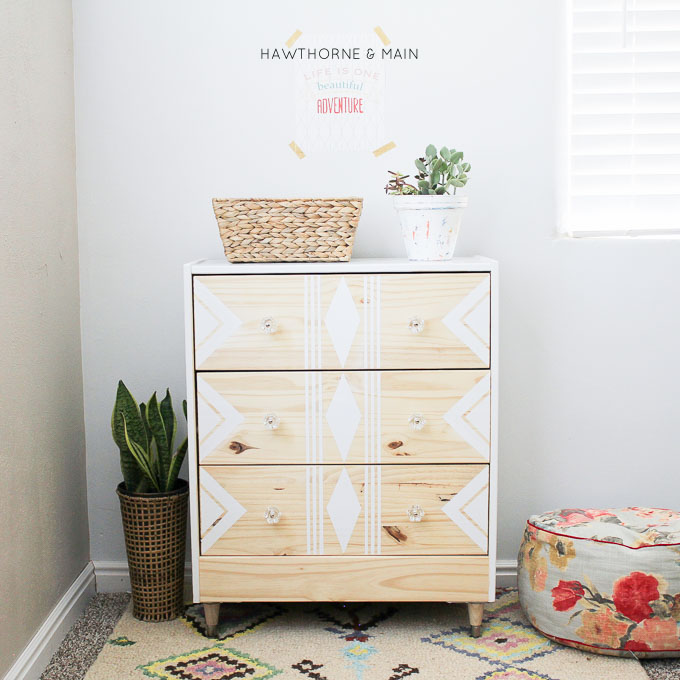
I wanted this RAST to look more modern and updated. I found these awesome 4″ legs at Home Depot as well as these mounting plates. Each mounting plate is screwed into each corner. Then all you have to do is screw the legs into the mounting plate.
[Check this out! KALAX IKEA hack Mid-Centry Modern Bookshelf- amazing!]
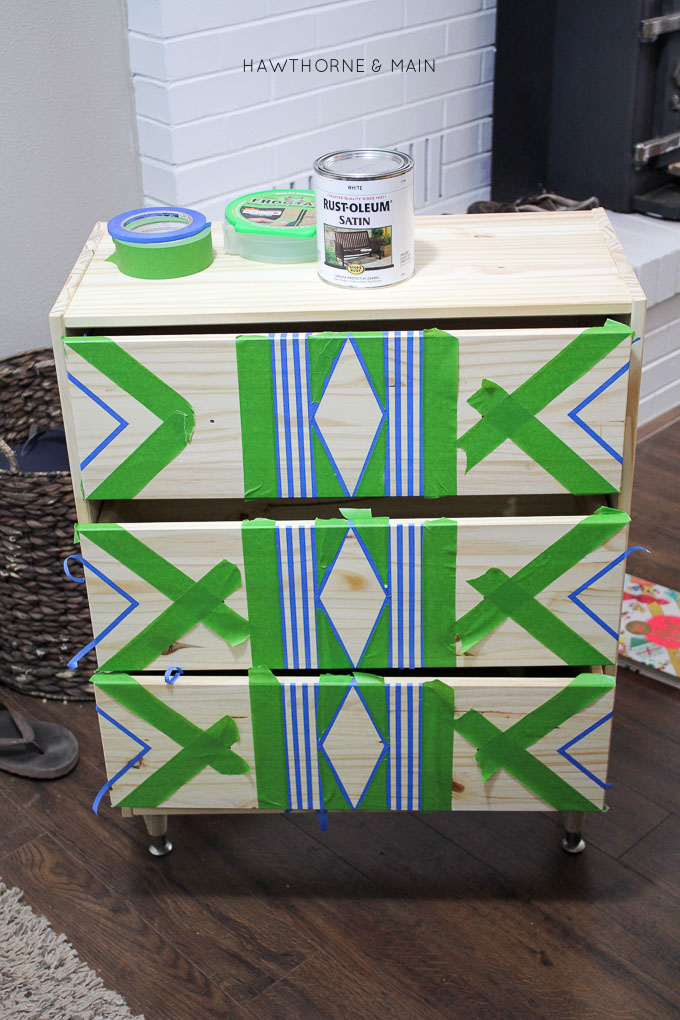
After the legs are now on it is time to add an awesome design on the front!
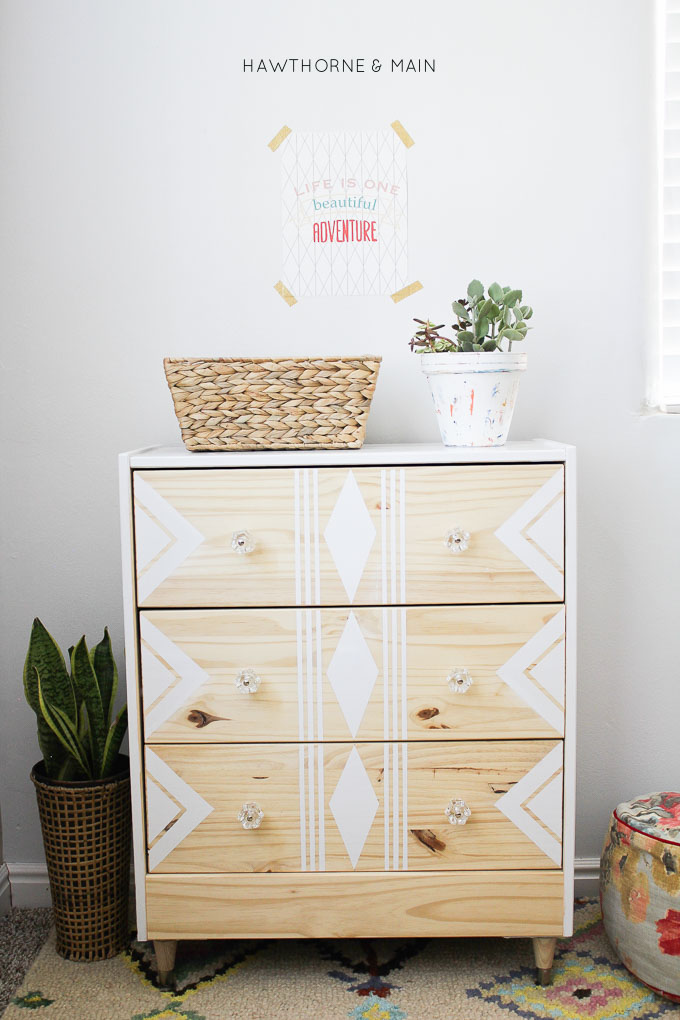
I used the knob holes on each of the draws as my guide. All of the points on all of the triangles ( on either side of the drawers as well as the one in the middle) meet in the line of the knob holes. Does that make sense?
I used 1 inch FrogTape for the tick lines, and 0.25 blue painters tape for the narrow lines.
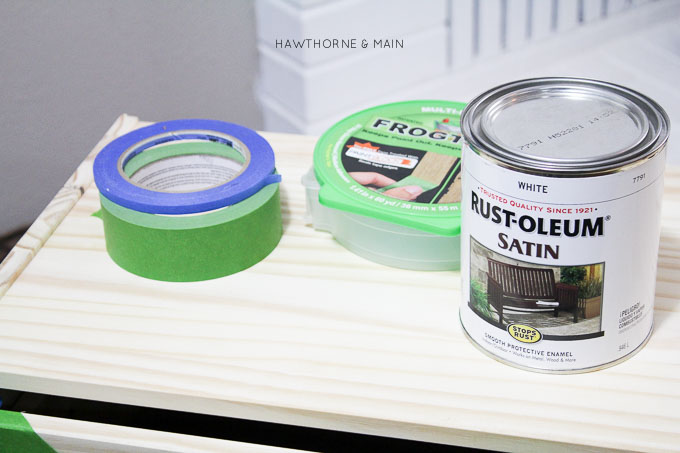
I have used oil based spray paint before but I have ever used it from a can. I decided that I wanted to have a really smooth durable surface on this dresser so I decided to give the canned Rust-Oleum oil based paint a try.
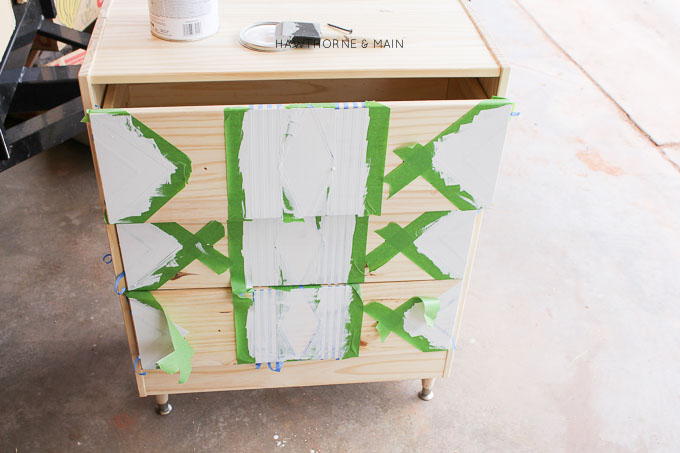
Oil based paint is a beast to clean up, not going to lie. I decided to use a foam brush for this reason. It does not leave the cleanest stroke lines, but after doing 3 coats of paint (letting it dry really good between coats) I am happy to report that this dresser is very smooth.
I ended up painting all of the taped off places on the front of the dresser, both sides, and the top. I love love how it turned out!

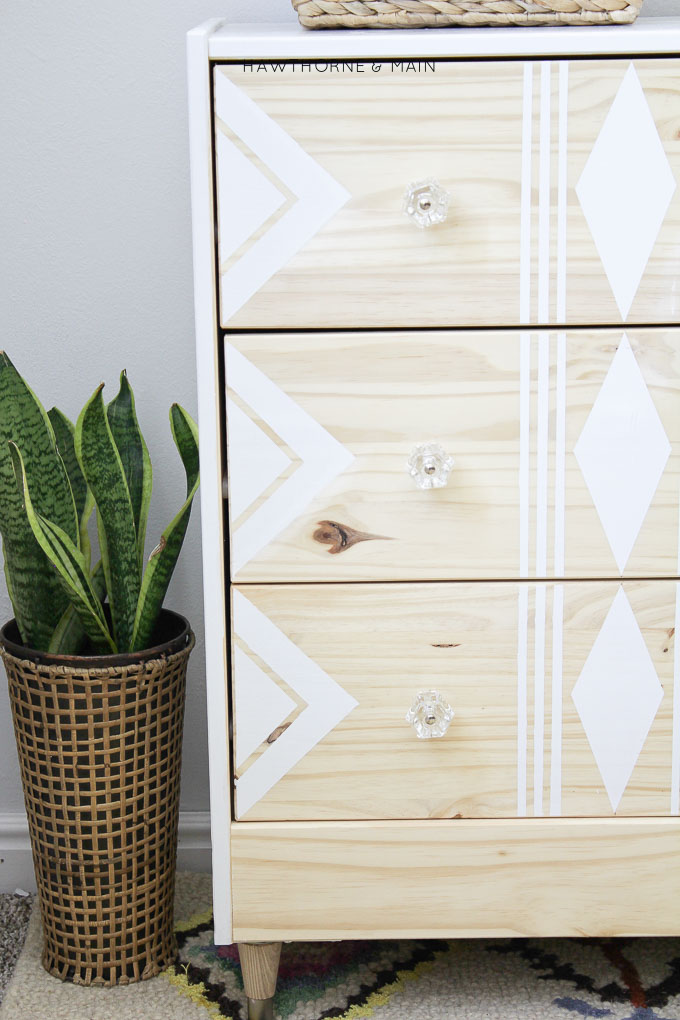
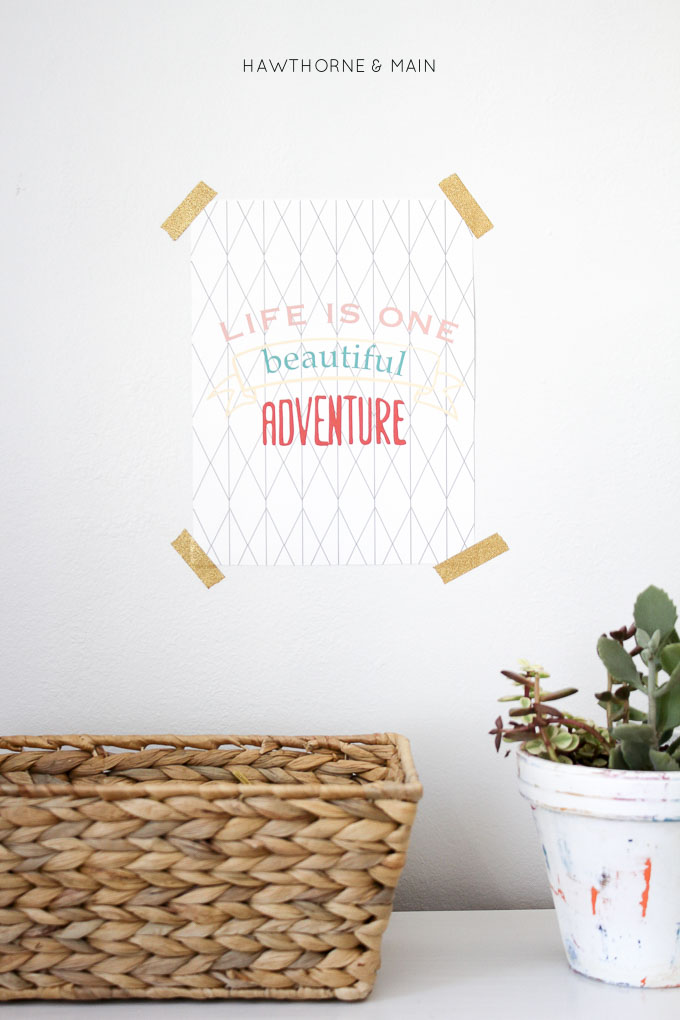
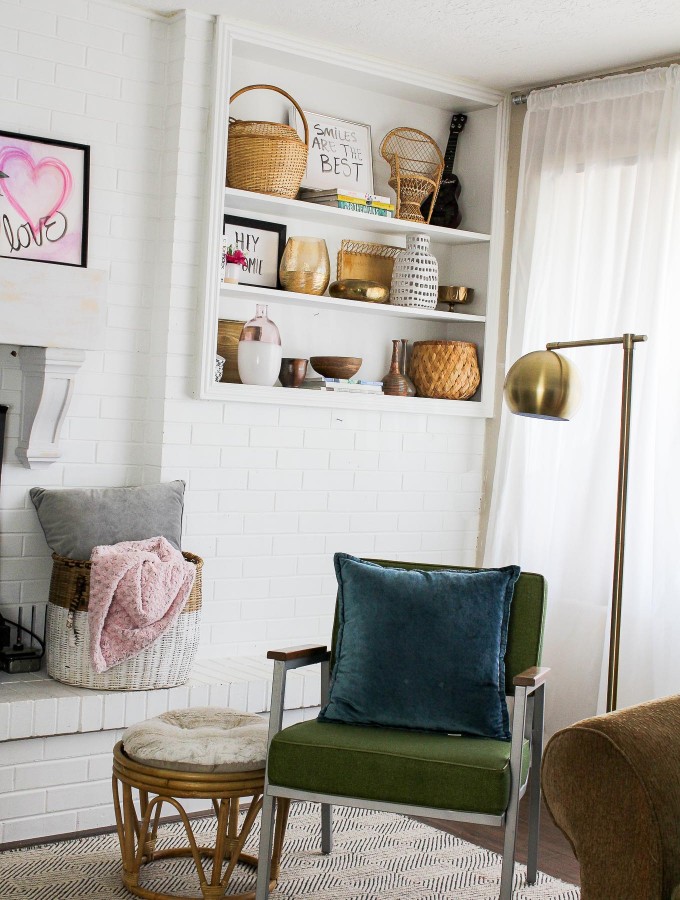
The FREE printable that is on the wall in these pics is available over here.
If you are looking for an awesome rug, this is the one I got.
The floor pouf is a DIY that I made.
What do you think of my RAST IKEA hack?
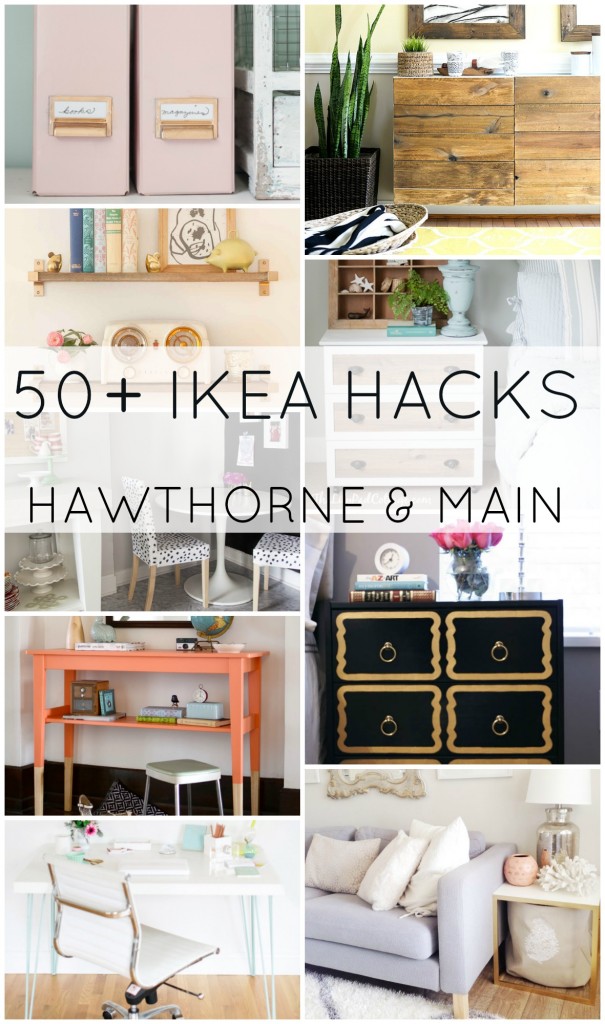
If you love IKEA hacks as much as I do, check out this round up of 50+ IKEA hacks.


When can I get to IKEA???? I NEED to do this stat!
Amen girl, you need to get there ASAP!! hahah. I just found out a few weeks ago that IKEA does parcel shipping. Which means it could take a while for it to get to you but it is pretty low cost shipping, depending on where you live. You should check into it. Thanks for stopping by!
This is by far my favourite rust hack….seriously you nailed this!
Gilly that is so sweet of you, thanks! I am no where as good at furniture re-dos as you, but I really do like how this one turned out.
Hi! Can you share the dimensions of the wood board that you used?
Yep. I will try to copy Your idea and I will post it on my twitter account with link to my inspiration (your blog)
Oh wow oh wow oh wow. This is gorgeous. Totally pinning this! Thanks for sharing!
hahah, thank you Melissa! I really like how it turned out, plus, the few modifications that I did were really simple. Hope you give it a try!
I also like the way it turned out. Ikea can be cool indeed.
I know what you mean by that big fat smile:)
Have a great day!
Thank you Gabriela! I am glad you know that big fat smile too! Hope you have a great week!
This is so good!!!! You totally took it up a few hundred notches from what it was!!! Well Done for sure! I do hope you will join in on my Making Broken Beautiful this week and share this awesome piece! It begins every Thursday and ends Sunday! http://thecuratorscollection.wordpress.com
Smiles for a great week!
Terry
Thanks Terry! I really like how it turned out. Sometimes I have an idea and it doesn’t always go how I envisioned it would, this went perfect. Thanks for letting me know about your party, I will come link up!
Wow, that turned out really great!
Tania
Thanks Tania! I really like how it turned out! Those new legs sort of make it, I think.
Love, love, love this!!! Thanks for linking it up at Monday Funday! Tweeted it out!
Thank you Katie! I am happy with how it turned out, which doesn’t always happen, hahaha. Thanks so much for tweeting! Love Monday Funday, btw!
Moving that bottom board forward makes such a difference in the overall look. I have rast dressers as the nightstands in my master bedroom, but I just painted them a solid color and changed the knobs. Yours is such a fun transformation.
Thanks Suzy! These would be perfect for night stands. I originally thought it would stand taller. Even with the added legs it is still quite small. For now it works really well for my daughter. You could always move that bottom board up and add some legs, just saying! haha
I really love the use of geometric shapes on this dresser. Who would have known such simplicity would have created such a large impact! So beautiful!
Thank you Crystal. I like the final product and my daughter loves that she can open and close the drawers all by herself. I hope the geometric trend stays around for a while, it is so fun!
Can I request a tutorial for that pouf? It’s amazing!
Thanks Kat. I can’t find the exact tutorial that I used but I think this one uses the same measurements that I used. This pouf came together really fast. I love it. The only change that I made was that I didn’t add the handle. http://www.livingwithpunks.com/2010/05/tutorial-land-of-nod-inspired-floor/
AMAZING! I love a good Rast hack and yours sure doesn’t disappoint. Love the wood you left bare. So wonderful.
You should totally come share this over on the Ladies Collective Linkup! It’d be awesome to have you!
Cheers,
Stephanie @ http://www.mommyzoid.ca
Thanks Stephanie! I have really loved the light wood trend that has been going around lately. The white and light wood turned out good together. I linked up to your party!
I love this.. you are my featured pick this week on You’re Gonna Love it.
Yay! Thanks so much Kim! Love your party!
I love these designs! Your dresser looks fantastic!
Thanks Mckenzie! It was a fun project for sure!
This is lovely! Two questions: Did you cover the screw heads on the side? If so, how?
Also, do you have a source for glass pulls you can share?
Also, we have the same rug in the dark blue and absolutely LOVE it, got it for a steal from o.com
Awesome, I love this rug too! My little one loves the colors and we play all sorts of silly games on it.
Hey Cassie! I was planning on covering the screw heads on the side but after I painted them white I decided to just leave them. It is pretty hard to tell that they aren’t covered. Here is a link to a similar item for the knobs. Thanks for stopping by! http://www.amazon.com/Depression-Knobs-T41-Dressers-Furniture/dp/B00K8IGYNQ/ref=pd_sim_60_1?ie=UTF8&dpID=41%2BsIrsLsIL&dpSrc=sims&preST=_AC_UL160_SR160%2C160_&refRID=0WYW7GXHXEHRDNPFQ88K
Great job! Check out our most recent IKEA HACK http://goo.gl/l7RLss
I was hoping to copy your RAST IKEA hack for my daughter’s nursery. Do you think I’d be able to get the same effect if I used the IKEA Hurdal dresser instead? the http://www.ikea.com/us/en/catalog/products/90268848/
How did the white rust-oleum paint wear for you over time? Did it scratch or chip easily? Did you have to coat the entire dresser with any type of finishing spray?
Hey Lindsay. I think it millwork with that dresser. The paint that I used was oil based paint and it wears exceptionally well. It probably would be a good idea to add a layer of polyurethane, but I never got around to add it. The dresser still looks really good though.
I can’t believe I missed this. Wow, I adore the simplicity of this – stunning! Pinning to share in case anyone, like me, missed it.
Aww thanks Marie! I do love simple. We love our little RAST dresser. It has held up so well too. Have a great weekend.
Oh no… now I really want to go to IKEA
I know!!! I have to limit my IKEA shopping trips, otherwise I end up spending all the grocery money there…haha. But honestly, I love that place. Have a great weekend Brittany.
Beautiful!! I love it!
I’m totally looking for dresser ideas! Beautiful job!
Thanks for stopping by! We love this dresser.
I love how you every detail you added to this dresser – the legs, the wood and white look, the geometric design. It is such a pretty statement piece now.
Thanks for inspiring me!
Suzanne
Love the pattern you created on the Rast. It’s totally something my dd would love for her room. Thanks for sharing on Merry Monday. Pinned.
Okay. First of all. I am in LOVE with this hack. Second, Im looking into buying an unfinished ikea dresser and making it my own. I really like the Hurdal 9 drawer but I want to make it a little more modern. I don’t know if you’re familiar with the product, but it just looks a bit dated. I just love the 9 drawers (and price). So my question is, do you think I could add legs to it?? What would you do? Add 4 or 6 legs? I’d really appreciate the advice!
Xx-
Caitlin
Hey Caitlin! I had another reader ask me about using the Hurdal. I really think that it would work well. You might have to come up with a slightly different design since the drawers are larger. I would definitely add legs to it. That will totally transform the dated look. For my RAST hack I got some legs from home depot. There is another place you can get legs, they sort of make legs specifically for ikea stuff. Here is the link. http://www.prettypegs.com/us/ If you makeover the dresser please send me a pic, I would love love to see it.
This is awesome! Do you mind sharing the dimensions of the board you added along the back??
Hey Jamie. I just measured it and it is just a little bit bigger than 23- 1/4 inches. Its about 23- 1/4 inches plus another 1/16….does that make sense. It is basically the width of the inside of the dresser. Hope this helps! Let me know if you have any other question!! Thanks.
this is so awesome, I LOVE your dresser / bedside table design….(do you think it would make a good bedside table for an adult bedroom?)
I love the graphic design, and the simplicity of it.
well done!!
I loved this so much I knew it was the perfect idea for my bedside tables. I have them built with the sides painted white already. It was really coming along nicely and quickly. I should have known better, it was just too easy. I found the green frog tape really quick. The blue tape has been has been my stopping point. No joke, I have been to Lowes, Home Depot, Walmart, Target, Ace, and even tried Michael’s for that tape and just can’t seem to find it local. I live in a huge city and thought it would be somewhere. I know I can find it on Amazon but I don’t want to wait five days for shipping. So for the sake of having to go to one more store I would love to know where you purchased it. I can’t wait to have these completed! Thank you thank you for the fabulous idea, so fun!
How did you get the print so even? Did you mark on dresser or just guess?
Nice, Nice to read your blog post, its an amazing piece of writing I came across, Thank you 🙂
very good
Really very informative and the way you present your information attracts visitors to read a more informative blog from your website. So I look forward to seeing the next update.
thank for sharing a nice article
Thankyou for sharing. Buy diamond jewllery in Delhi NCR
Thank you for sharing the information. Read our Weekly Indian magazine
Wow nice thanks for sharing this amazing article
Really,This article is worth reading…
Nice Posted
The article you have shared here is very awesome. I really like and appreciate your work.
This information is so amazing and helpful for me thanks for sharing the knowledge Great Post! https://beautifulwindowselgin.com/
Thanks bro
Explore Tina B’s board “The Infamous Ikea Rast Hacks”, followed by 1355 people on Pinterest. See more ideas about ikea rast, ikea rast hack, …https://grerem.com/
Carpet tiles provide a DIY-friendly flooring solution for homes, businesses, and even the great outdoors! With options for peel and stick backings, commercial-grade designs, and plenty of stylish patterns, there’s a carpet tile out there for everyone. Whether you want to create a custom area rug or install wall to wall carpet, you can find the perfect product for you.
Best Carpet tile
The Blackout Curtain Drapes Size:52inch x 72inch(132 x 183cm),Includes 2 Curtain Panels.There are two styles of punch curtain and rod curtain for easy selection.The punch curtain includes 12 plastic Grommets, suitable for standard or decorative curtain rods.
Curtains in dubai at low price
The company cleans and sterilizes the bathrooms in order to get a life free from pollution and germs, as the company, after cleaning and sterilizing them, also uses the best disinfectants such as Dettol and some cleaning materials that make you dazzled by the shine and cleanliness of the bathroom and rid you of any unpleasant odors that may be present in the bathrooms. a
I have read your blog as it provides very unique information. After reading the complete blog I’ve come to know a lot of things. Keep sharing such type of information with us. Thanks y2mate
Annualized Growth With its unparalleled ability to understand and adapt to customer preferences, our AI software streamlines the sales pipeline, maximizing revenue generation and delivering exceptional results for businesses across various online tech markets. Ai CRM SEO Whitelist
Techfai – Your Trusted Tech Source
🌐 About Us
Welcome to Techfai, your trusted source for the latest in tech news, reviews, and insights. We are passionate about all things technology and are dedicated to keeping you informed about the ever-evolving world of gadgets, software, and innovations. Write for us
greece powerball result toady
New China Menu
Astro luna ayer
We thoroughly enjoyed perusing your blog, and as a result, I’ve not only read every post on your website but also become a dedicated follower.
Clothing that tells a story – and mine is woven with the threads of Ireland. Loving the rich heritage in every stitch. 💙🧵
I think this is a really good article. You make this information interesting and engaging.
I admire this article for the well-researched content and excellent wording.
this is wonderful information
thanks for this is amazing information.
You can do very creative work in a particular field. Exceptional concept That was incredible share. https://www.jacketsmasters.com/product/heartbreak-high-amerie-jacket/
You are a good writer I appreciate you due to your very good post thanks for sharing.
Goods and furniture, like the classic appeal of a Mavericks bomber jacket, combine style with practicality. Just as the bomber jacket adds a timeless, versatile edge to any wardrobe, quality furniture and goods enhance a space with both functional elegance and enduring charm. Both elevate our everyday experiences with their presence.
Formatting is essential for clarity, much like a mavericks bomber jacket adds a distinct edge to an outfit. Just as buckles enhance the jacket’s style and functionality, proper formatting enhances the readability and impact of a document, ensuring that each element stands out and contributes to the overall presentation.
Great to see such a post on the web, thanks for sharing such with us.
Fantastic post! I’m delighted to say that your content is truly captivating. Thanks for sharing this informative blog.
Thanks for inspiring me! I love how you every detail you added to this dresser – the legs, the wood and white look, the geometric design. It is such a pretty statement piece now.
Wow, that turned out really great!
Thanks for sharing this informative blog.
I think this is a really good article. You make this information interesting and engaging
MEGABINTANG88
MEGABINTANG88 is the most popular online gaming site